Posts mit dem Label Projects werden angezeigt. Alle Posts anzeigen

Montag, 13. August 2012

Fall attire

Good to be back!
As very soon we will move to a new house (a house!) so I'm pretty occupied.. buuuut nevertheless,
I'm thinking of sewing some pieces up for fall.

How about matchy matchy stuff... ?
Maybe a bag and a coat? I don't know if that would be too much or look pleasing.
Well, let's see, what are the options:


via moop


can't decide yet. but, I'd like to take waxed canvas
like this, found via ikea


inspirational piece was this item:

Rain Coat by Maison Scotch

I tried it on, and I LOVED it, but, the fit wasn't ...the best. So I decided to wait.
And ...nothing happened of course. Well, now, that ikea has a similar fabric in stock, I'd give it a go!
Well I'd tweak the whole thing a bit, but you get the idea.

Close up of the hood and collar.
Now I'm off for a walk .. but I will come back with ideas for a fitting pattern / style.


Mittwoch, 12. Oktober 2011

Tutorial: How to customize your dress form - Part one

Today I want to show you a little tutorial on how I fattened up my dress form, since I fattened up myself.
This tutorial will be split up in Bust, Lower Part, Upper Part, roughly.


Changing the size of your dress form to your own measurements isn't that hard actually. First of all you have to take exact measurements and observe your body critically. This means to position yourself in front of a mirror and to determine whether your body has unbalanced proportions or irregularities. 
It is necessary to analyze your body, when you want to have clothes that fit. This has nothing to do with the contemporary "standards" of the fashion industry.  
Therefore - nothing to be too sad about if your eye spots something you don't want to see. :)


To give you a glimpse of where we stand and where we are going, here is a before and after shot of the dress form. It took me about 6 hours if I remember correctly, measuring not included.
This dress form is now two sizes bigger than it was before. 


What you will need:
  • Tools like scissors, measuring tape, needles... 
  • a voluminous non-woven fabric/wadding like "Vilene". I can't say how much I've used because I didn't check. but I don't think you will need more than 1,5m/1,6yards.
  • a shirt you don't want to wear anymore.


Part One: BUST

1. If you have your shirt you probably want to make it smaller to reach a good fit on the dress-form. While making it smaller simply extend your side-seam until you reach your shoulder.
Ignore that bump I made there. Such bumps won't be seen anyway. If your shirt has a thick neckband you can simply cut it off. But try keeping the neckline a little smaller than shown here.


2. Roughly sketch a cup-like pattern on the fabric, like you know it from a bikini or bra. The two sides can differ in form, for maybe your breasts do too. 


3. First pin and check position, then sew with big stitches.


 4. Take the wadding and pull it apart to make it more voluminous and fill your cups.

5. Take a square and pin it on your form to define the bust. You can see the edge which is created naturally and will later will be your upper part of the cup.

6.  If there's fabric overlapping the seam-line you're about to create, simply cut it off.

7. Turn the form facing it sideways and draw a curved line from needle to needle.

8. Remember to match the upper and lower parts, otherwise one will be too short!

9. Repeat these steps for the other breast.


10. Sew the two parts together to get a cup, then sew it onto the shirt.

11. Before you fix the cup onto the shirt completely fill it with more wadding. Do it on both sides simultaneously because now is the time to check the measurements! 
The cover will fit tightly on your form and maybe in the end your dress form turns out smaller than your own measurements. 
(If you want to replicate your measurements exactly you should stuff to make it tight. I deliberately left it loose, to make the form a wee bit smaller than my actual size. You're never wrong with that, if it's not more than ~1,5cm)

12. Close it but leave a small gap to be able to adjust the bust size later on. This is important, because maybe you're not happy with the result, when the form is nearly finished, or you want to check the measurements later on.
  

13. Now your boobies may or may not look that monstrous but since the form is not finished, this is only a weird impression. Simply try ignore it, even if it looks ridiculous. ;)
 

14. Now we have to fill the space between the breasts, to get a nice smooth lower bustline. 
 

15. This is what it will look like later on.


Maybe you will notice, that in some pictures the cups aren't stitched onto the shirt yet. That's because I wanted to check the whole look in in pinned position first and stitch it simultaneously afterwards. The process stays the same.


Thanks and see you at part II.


Samstag, 22. Januar 2011

Colette Patterns Spring Palette Challenge

Colette has started her spring color palette challenge and I'm so eager to join in!
Heres the color palette I've come up with, fitting to my autumnish skin type.


Each of the upper colors will/can be combined in a garment with the color beneath it.
I still don't know if I will stay put with this, it kind of seems so hollow to me.
In addition, I don't know for sure if my skintype really matches the autumn type, but thats the opinions I've got from others, I would count myself rather as a summer-type, but on the other, rather convincing side cold colors don't suit me.

Maybe this palette would be better?


Yeah, I think, this looks more spring-ish, somehow.
cheers, mae

Montag, 13. Dezember 2010

50ies inspired Vintage Dress Project

In the last post I mentioned a dress designed by David Crystal (the creator of Lacoste):

"This is a fall/winter dress in a brown and black wool herringbone. The dress has a small collar faced in black velveteen. String tie circles the base of the neck with a wrap knot in front. The bodice is dart fitted through the bust and midriff to the natural waistline seam. Short, set in sleeves have turn back cuffs in black velveteen and a two button decoration. Full, accordion pleated skirt falls from the natural waistline seam. Center back zipper closure. Black velveteen belt."


I scanned the fabric I got three weeks ago and am thinking - should I go for the brown, or should I choose the bw-tweed?

I think both would be fitting, but I'm kinda stuck with the brown color, since it was the original idea.

And I like the lining fabric I have, it's a rayon-silk blend.


What do you think? Would be happy to know your thoughts on that.
mae xxx


Dienstag, 28. September 2010

CopyCut - Phase One: It's starting!


Finally, we get going. So far we have decided the complete undergarments.
I've decided mine by adjusting and comparing with these two dresses:


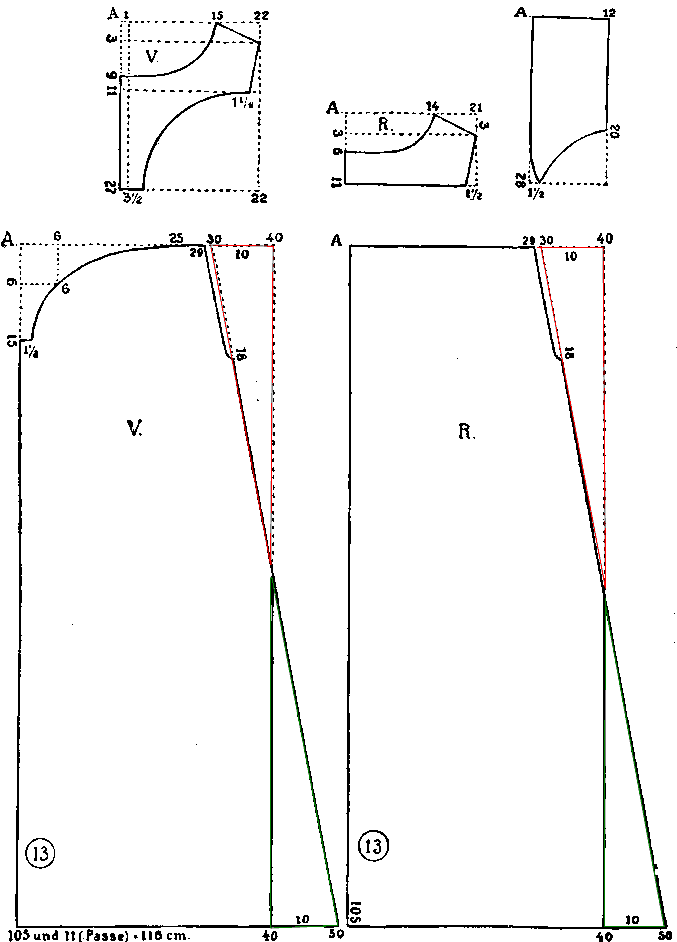
I will go for drawers from 1889-93. It's a free pattern, which can be found online at the Ladies Treasury of Costume and Fashion.
They do not have the scale measures for drafting this garment, so I will have to draft to the size given and then alter to fit.


This will be the chemise which I will be doing:
I will have small alterations done, because I think I will go for a V neck.


This 1883 Corset appears in Norah Waughs Corsets&Crinolines and is pretty much what I want my Corset to look like. It's not the one, I wanted to do first, but the other would have been too early for a 1888 Bustle Dress.  It's a black coutil corset, edged with black lace and yellow ribbon. I haven't decided yet about the colors, I'd like to do something black, or black with antique pink, ... but I still have a huge amount of beautiful striped material in black/brown/dark brown and gold.


Wonderful (time-fitting!) Corset Covers we found over at Digital Changeling.
There are many Corset Covers, and even free patterns for them, but out of some reason, we can't find any for the needed decade (1880ies). The ones we have seen were either too early (~1860) or to late in time (1910)
So.. there's quite a lack of... corset covers for this time. I actually wonder how that can be.


We found a wonderful example of Bustle-Underskirt at Digital Changeling and will draft it ourselves.
After finishing the other undergarments mentioned we will aim for the one in the upper left corner.


Check Rose's blog, we may have the same goal, but our construction slightly differs. That's what makes it so interesting. :)

xxx, mae

Let's honor the internetz.


Time to be thankful.
Without the internet i wouldn't have this blog, naturellement. 
But without the internet I wouldn't have the possibility to see THESE amazing costumes, which I can't see in real because a) the V&A Museum is a little bit too far away at this moment and b) nobody wears these anymore. Damn you!


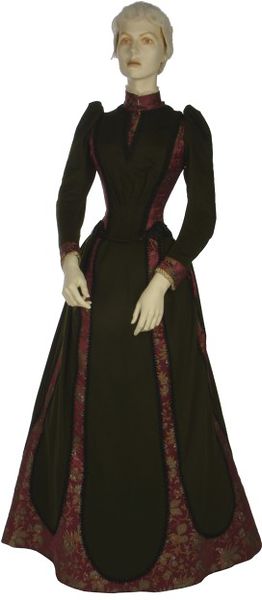
These are just amazing and will be the final goal for the CopyCut-Project!
Rose has found the one on the right and this wonderful, fitting umbrella. I think those two would be looking great on us two.


So, CopyCut is finally going to be starting. Await the next posts for further intormation!


xxx, mae